John Hattie explains that in order to properly differentiate, "The teacher will have to provide different ways in which students can demonstrate mastery and understanding along the way to meeting the criteria for success.”
Using Choice Boards in the classroom is a great way to engage students while honoring their differences. Choice Boards can help teachers with the never-ending task of differentiating classrooms, allowing students to actively participate in the learning process, allowing them choice across the curriculum- in the content, the process, and the product, which in turn have a great effect on the classroom environment.
'Differentiation is not a set of strategies, but rather a way of thinking about teaching & learning.'
With this in mind, let's have a look at what Choice Boards are and how they can be used in diverse classrooms:
What are "Choice Boards"?
- They are graphic organizers
- They include a series of activities that focus on students’ specific learning needs, interests, and abilities.
- Students decide which activity they are most comfortable completing first, and once they master it, they can move on to more challenging activities.
How to Create Choice Boards?
- Identify one instructional focus for your Choice Board
- Use data to determine students’ interests, readiness, and learning styles
- Design 9 tasks. Differentiate them based on the information you determined above.
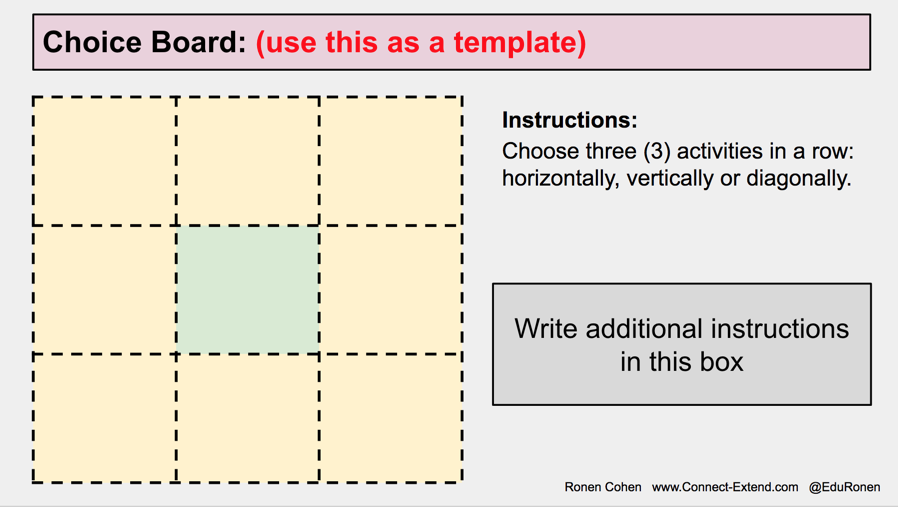
- Use the templates on the upcoming slides to arrange the tasks.
- Students choose 3 tasks to work on- These tasks must be ordered horizontally (row), vertically (column) or diagonally.
When designing these boards, it is important to ensure that the tasks students choose are diverse, so that each can enhance each other and capitalize on a variety of student strengths. In order to do so, here are several ways you could structure your boards:
Task Arrangement: By Level of Difficulty:
The main idea behind this arrangement is that no matter which three tasks students choose, they will be working on at least one higher level tasks, whereas students who wish to take on more challenges, can choose all three tasks in the Difficult level.
A variation of the above difficulty level arrangement is to further classify tasks according to level, and providing students with only two difficulty levels to choose from:
Easy & Medium:
Medium & Difficult:
Task Arrangement: By Level of Questioning Skills:
Another way by which you could create tasks is by questioning skills (Bloom's Taxonomy). This arrangement, once again, forces students to choose tasks in a variety of levels:
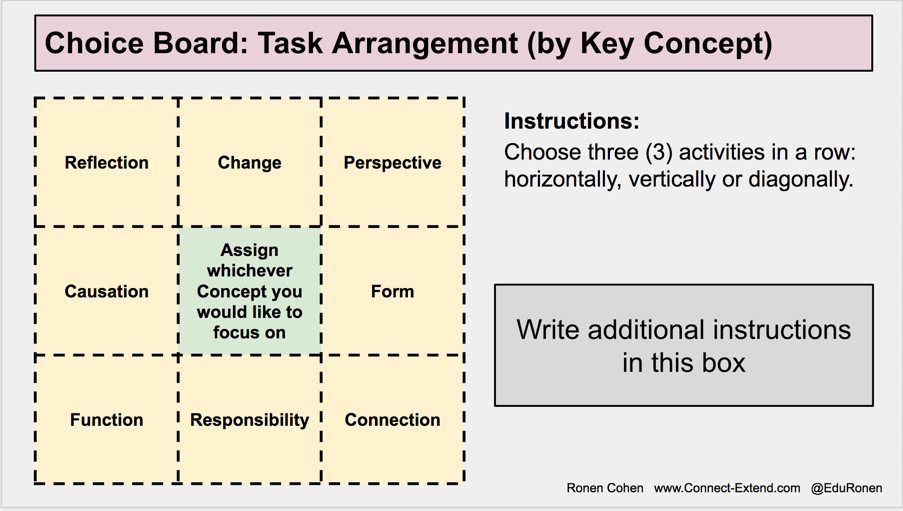
Task Arrangement: By Key Concepts
For those of you who work under the PYP/ IB framework, creating tasks that correspond to Key Concepts is an excellent way to ensure students examine issues from different perspectives:
The nature of these Choice Boards allows teachers the flexibility we need to create Choice Boards tailored to both our and our students' needs. Feel free to use the above arrangement ideas when you create your own boards.
Using Google Tools to Quickly Create Choice Boards
In this blog post, I explore 3 different tools teachers can quickly create Choice Boards: Google Docs, Google Slides, and Google Forms. Each method has its advantages, but they all end up with the same product: a simple way to create Choice Boards!
1. Using Google Docs to Create Choice Boards Templates
This method is the easiest of the three. You create a template and re-use it whenever you, or anyone else, needs.
In order to create templates in Google Docs, you need to be a part of GSuite (for organizations, schools, etc.). Here is how it's done:
- Open Google Docs
- Create your Choice Board template
- Go to Docs.Google.com (of your G-Suite organization) and click on “Template Gallery”, then “Submit Template”
- Select the document you chose, and voila!
*** If you are a single Google/Gmail user (not a part of the GSuite), unfortunately, you can’t create a template. Instead, you’ll need to make a copy of your document.
Here is a short explanation of how to create a Google Doc template (for GSuite users):
This short video shows how to make a copy of a document (for regular Google Apps users):


While working on some Tic-Tac-Toe boards for my students, I realized that the omnipotent Google Forms can come to my help once again. How? Using the add-on Form Publisher, I will create a Google Form with generic questions, and link it to a Google Doc template. Yes, it's that easy!
If you're not sure how to do it, follow the steps below to learn how it all works!
This short video shows how to make a copy of a document (for regular Google Apps users):
Here is the template you saw in the screencasts. Feel free to copy and use it.
2. Using Google Slides to Create Choice Boards Templates
Another simple way to create Choice Boards is to create a Master Template in Google Slides, and to use and re-use it to create new boards (see images above). Once your Choice Board slide is ready, you can print it out, share it with your students through Google Classroom, etc.
Use this link to make a copy of the Google Slideshow below:
Use this link to make a copy of the Google Slideshow below:
3. Using Google Forms to Create Choice Boards Templates
OK. This is the coolest part. Are you ready?While working on some Tic-Tac-Toe boards for my students, I realized that the omnipotent Google Forms can come to my help once again. How? Using the add-on Form Publisher, I will create a Google Form with generic questions, and link it to a Google Doc template. Yes, it's that easy!
Use the Google Form and Google Doc template I created (below), and adjust it for your needs. You're welcome!
If you're not sure how to do it, follow the steps below to learn how it all works!
Before we start, here is the link to the Form and the Template. If you would like more information about what Choice Boards are and how to create different Tic-Tac-Toe menus, go through the Google Slides above. And yes, you can feel free to make a copy and use the Slides for your own purposes.
So... How does it all work? Simple:
- Make a copy of the Google Form I created.
- Make a copy of the Google Doc template I created.
- Create a new folder on your Google Drive and place both files in that folder. This organization pays later!
- Download the Forms add-on "Form Publisher"
- Open Form Publisher and link the Form to the template.
- Fill in the form
- Check your e-mail for your new awesome Choice Board
- Open the Google Doc and adjust its look (colors, fonts, information, etc.)
If you need a video tutorial, here it is:
I hope you find these methods helpful. If you have any other cool ways to create templates for differentiation, please write them in the comments below.
If you would like to use this information as a presentation, here is a link to a Google Slides.
Feel free to reach out on Twitter @EduRonen!
If you would like to use this information as a presentation, here is a link to a Google Slides.
Feel free to reach out on Twitter @EduRonen!


No comments:
Post a Comment